Google Business Profile posts used to create an annoying choice for small business owners: remember to publish them manually every week or pay for another scheduling tool.
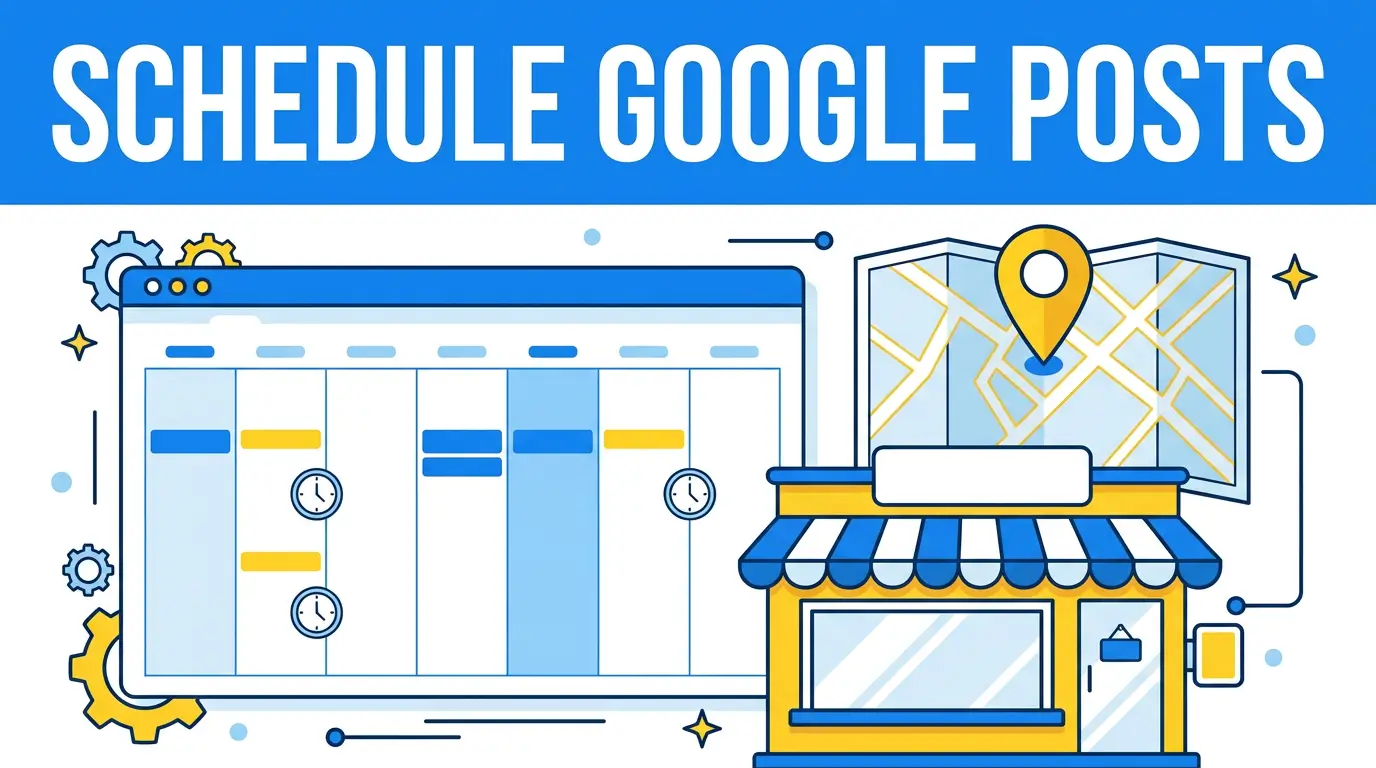
That choice is gone. Google now lets businesses schedule posts inside Business Profile and publish one post to multiple locations. The feature was fully launched in November 2025, and Google’s current instructions confirm that you can select multiple profiles before publishing.
The feature is simple. Building a useful system around it takes a little more thought. Scheduling four generic posts at the start of the month will save time, but it won’t give a customer a reason to call, visit, or request a quote.
Here is how to build a lean Google Business Profile posting workflow that takes about an hour per month and supports actual sales.
What Google Business Profile posts can do
Posts put timely information inside the profile people see on Google Search and Maps. Google says they can appear in the desktop “From the owner” section, while deals, events, and specials may also be featured on mobile.
That makes a post useful near the end of a buying decision. Someone looking at your profile may already be comparing hours, reviews, photos, services, and directions. A current offer or availability update can answer the final question that keeps them from taking action.
Do not confuse posts with your core profile information. A post is not the right place to correct permanent hours, change your phone number, or add a service you always provide. Update the appropriate Business Profile field first. Use posts for information that is timely, promotional, seasonal, or new.
Google supports three main formats:
- Updates for announcements, recent work, availability, FAQs, and service news.
- Offers for promotions with dates, optional coupon codes, terms, and a redemption link.
- Events for something that happens during a defined date and time range.
Choose the format that describes the content. An offer entered as a normal update loses useful fields such as terms and dates. An event presented as generic text makes the customer work harder to find when it happens.
How to schedule a post natively
Sign in to the Google account that manages the profile, search for the business name on Google, and open the Business Profile controls. Choose Add update, then select Update, Offer, or Event. Add the text, media, dates, and action button that fit the post.
Before publishing, use the scheduling option to choose the future date and time. If you manage several eligible profiles, select the locations that should receive the post. Review the preview, links, dates, and location selection, then schedule it.
Google’s interface changes labels occasionally, and features may not appear identically for every category or account. Its live post management instructions should be the final reference if your screen differs.
The technical process only takes a few minutes. The real risk is scheduling incorrect information at scale. One bad date copied to six locations creates six customer-service problems. Treat the preview as a real approval step, not a formality.
Build a four-post monthly calendar
Start with four posts per month. That is enough to keep a steady rhythm without turning local marketing into a second job. Each post should handle a different buyer concern.
Week 1: Promote one priority service
Pick the service you most want to sell, not a random item from your menu. State who it is for, the problem it fixes, and the next action.
A roofing contractor might write: “Seeing granules in your gutters after the last storm? We have three roof inspection appointments open in Dayton this week. Request an inspection.”
Send the action button to the matching service or booking page. Do not dump every visitor on the homepage and expect them to find the offer again.
Week 2: Show proof
Use a real project photo, a short customer result, or a specific before-and-after story. Get the customer’s permission before publishing identifiable details. Keep the explanation concrete: what the problem was, what your team did, and what improved.
This is stronger than a stock image and “quality you can trust.” A plumber can show a replaced corroded shutoff valve. A bakery can show a finished wedding order. An accountant can explain how a cleanup project brought a client’s books current before a loan application.
Week 3: Answer one buying question
Ask the person who answers your phone which question came up most often last month. Then answer it in plain language.
Good topics include service areas, turnaround times, appointment preparation, financing, minimum orders, insurance, parking, delivery, and what happens after someone requests a quote. Avoid giving a one-word answer. Give enough detail to help a buyer decide whether the service fits.
Week 4: Publish a timely offer, event, or availability update
Use this slot for something with a real deadline. It could be an open appointment, seasonal maintenance, a workshop, a holiday cutoff, or a legitimate promotion.
Do not manufacture false urgency. If an offer says it ends Friday, end it Friday. If five appointments are available, update or remove the post when they fill. Accurate scarcity builds trust. Fake scarcity burns it.
Use a simple production worksheet
You do not need a large content calendar. Use one row per post with these fields: profile location, post type, publish date, expiration or event date, opening sentence, image filename, button label, destination URL, owner, and approval status.
Add a separate column for location-specific facts. That column prevents a multi-location post from promising Saturday hours at a branch that closes Friday afternoon.
Create all four drafts in one sitting. Then ask the person closest to operations to check availability, dates, prices, restrictions, and local details. Marketing should not guess what the service team can deliver.
Once approved, schedule the posts. Put a 15-minute review on the calendar halfway through the month. The review catches sold-out offers, weather changes, postponed events, broken pages, or staffing changes before outdated information sits on the profile.
When multi-location publishing helps
Native multi-location publishing is useful for announcements that are truly shared: a company-wide service launch, a brand event, a holiday message, or a promotion with identical terms. It removes repetitive entry work and reduces copy-and-paste mistakes.
It is a poor fit when inventory, hours, offers, weather, staff, service coverage, or landing pages differ by branch. A shared post can still use a common framework, but each location may need its own image, dates, link, or wording.
Before selecting every profile, ask three questions:
- Can every selected location fulfill this exact promise?
- Do the dates, price, terms, and destination page apply everywhere?
- Would a local customer recognize this as relevant to their branch?
If any answer is no, create location versions. Saving ten minutes is not worth sending a customer to the wrong store or advertising a service a branch does not offer.
Write posts for action, not word count
The first sentence does most of the work. Put the reason to care up front. “Two furnace tune-up appointments opened Thursday” is better than “At Smith Heating, we are committed to serving our valued community.”
Then add the minimum context needed to act. A useful post usually includes the offer or update, who it applies to, a date or limitation when relevant, and one next step.
Use an action button instead of typing a phone number into the post. Google’s Business Profile content policy says post descriptions containing phone numbers may be rejected and recommends attaching the Call now button tied to the verified profile number.
The same policy requires content to be relevant to the business and prohibits misleading, low-quality, offensive, and certain regulated content. Scheduled posts still need human review. A scheduling feature does not protect you from an outdated claim or policy violation.
Choose images that survive the crop
Use an original photo when you can. Show the work, product, location, team, or event. Put the subject near the center because Google may crop media differently across devices and placements.
Avoid tiny text, dense promotional graphics, or an important detail pressed against an edge. Preview every image on a phone. If the customer cannot understand it at profile size, choose a simpler image.
Google’s photo and video standards call for images that are in focus, well lit, and representative of reality, with limited alterations. That is a good operating rule even when a highly edited graphic technically passes review. Customers are looking for evidence of the real business.
Track whether posts lead to business
Posting activity is not the goal. Calls, bookings, store visits, quote requests, and sales are.
Give every destination link UTM parameters so traffic can be identified in analytics. A practical source and medium pair is utm_source=google and utm_medium=organic, with a campaign such as gbp_posts_july_2026. Give individual posts a content value such as roof_inspection or summer_workshop.
Google’s Campaign URL Builder explains the standard campaign parameters and creates a tagged URL. Keep your naming consistent. GBP, google-business, and google treated as three different sources will make reporting needlessly messy.
At the end of the month, record website sessions and conversions from tagged links, plus any calls or bookings staff can connect to the profile. Do not declare a format successful after one post. Run the four-part calendar for three months, then compare themes and offers.
Look for business patterns. If availability posts drive bookings, make them part of the operating routine. If project photos earn visits but no inquiries, the landing page or offer may need work. If an event post sends traffic but registrations are low, check the registration page on a phone before blaming the post.
Mistakes to catch before scheduling
Most failures are ordinary execution errors. Check for an expired offer, incorrect location, link to the wrong branch, mismatched image, missing terms, or an event time with no time zone. Test each destination URL while signed out, especially if it leads to a booking system.
Also watch for queued posts that collide with real events. A cheerful promotion appearing during a closure, outage, safety issue, or local emergency makes the business look asleep. Someone must own the schedule and know how to pause or remove content.
Finally, do not schedule the same generic post forever. Current information is the value. Repeating “Call us for all your needs” adds no new reason to choose you.
A one-hour monthly workflow
Spend 15 minutes pulling questions, offers, job photos, and upcoming dates from your team. Use 20 minutes to draft four posts and choose images. Give operations 10 minutes to verify the details. Use the final 15 minutes to add tracked links, preview every post, schedule them, and place the midmonth review on the calendar.
That is enough for most owner-led businesses. The system stays small, each post has a job, and native scheduling removes the weekly reminder.
If your Business Profile gets attention but your website does not turn that attention into calls or qualified leads, get started with Your Web Team. We can help connect your local visibility to a website built for the next step.